Showing posts with label Classic Car. Show all posts

Wednesday, 1 June 2011

Perfecting Motorcycle Riding


The racetrack isn't the place to learn to stop. Track days are expensive, time-consuming events that happen only a few times a year but you can ride around an empty or abandoned parking lot for free nearly any day of the year. Save yourself time and money by practicing your braking and steering inputs in a parking lot so you can spend your track time working on high-speed maneuvering. All you will need is an empty parking lot that is free from gravel and oil, a measuring tape, an hour of your time and some cones or chalk or some other way of marking the ground.

Measure out 10-feet and mark both ends of the line with a cone or chalk and draw a circle around the line. Measure another 10-foot line that touches the edge of the previous circle and mark the ends of the line with a cone or chalk and draw a circle around the line. You should have two 10-foot circles side by side. Begin riding around the first circle at 15 mph.

You should be looking at the other end of the circle as you spin around the circle. Try increasing your speed slightly. Does the bike feel more or less stable at higher speeds? Change your body position so that the bike is leaned over but you are sitting upright with your weight resting on the outside foot peg. Does the bike feel more or less stable the farther the bike is pitched over and the more upright you sit?

Move on to trying a figure 8 by riding clockwise around one circle and counter-clockwise around the other circle. This will help you ride with your feet light on your toes to aid how well you transition from one side to the other. Now we move on to practicing braking. Draw a chalk line and mark a line off every six inches behind that line for 4 feet. Ride at 25 mph with our heads looking up at the horizon and our peripheral vision searching for the line.

As we approach the line we apply the front and rear brakes and stop in as little time as possible. Did you keep your head up, staring at the horizon the whole time? If not repeat the process until you feel comfortable looking off at the horizon even as the bike dips forward under heavy braking. Notice how and where your tire finally came to a stop. Repeat this drill until your can reduce the amount of space it takes you to go from 25 mph to a controlled stop. Try applying more or less front and rear brakes until you feel the tires start to go into a slide. This is the upper threshold of your braking and a parking lot, not racetrack, is the best place to learn to stop better.


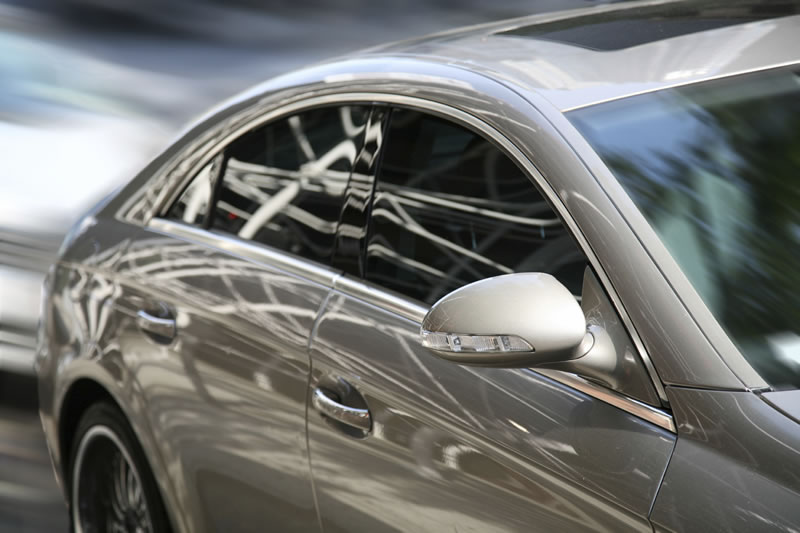
Tinting Your Vehicle Windows


Vehicle window tinting is one of the most popular car enhancements available today. Automotive specialty stores offer window tinting for all kinds of vehicles, including cars, SUVs, trucks, and RVs. Aside from aesthetic appeal, there are many reasons that vehicle owners choose to have tinted film placed on their windows.

Reduce heat and avoid overheating. Heat build-up in your car is not only uncomfortable for you and your passengers; it can put a strainon your engine and air-conditioning system. Tinted windows help to minimize the accumulation of heat within a vehicle. In fact, some films on the market today offer an 85 to 95% heat rejection rate. That translates into a much cooler car, even on the hottest and most humid days.

Protect your vehicle's interior. The UV rays of the sun can damage the interior of your car. Upholstery may fade after long-term exposure to the sun. Leather seats may crack and become brittle as well. Tinted windows block 99% of the sun's harmful rays, protecting your car's interior from pre-mature aging.

Protect your skin. Just like your car's interior, your skin is susceptible to damage from the UVA and UVB rays that filter into your vehicle through the windows. Sun damage to your skin can lead to cancer. Window tinting can block those damaging rays and prevent you and your passengers from dangerous sun exposure.

Reduce glare. Tinted windows help reduce the glare of the sun during daytime driving and the glare of headlights at night. This reduction will allow drivers to have a clearer view of the road and ideally, be able to avoid deadly accidents.

Improve fuel-efficiency. Because tinted windows keep a car's interior so much cooler, there is less strain put on the vehicle's engine and air-conditioner. Drivers are able to save some money because they will not be wasting fuel by cooling down their car dramatically each time it has been sitting for long periods of time.

Protection during an accident. In the event of an accident, window tint can help shattered glass hold together, protecting you and your passengers from dangerous shards of glass that may result from an impact.

Improve security. Window tinting blocks a potential thief's view of the valuables inside your vehicle. A criminal is less likely to break-in to a car unless he knows that there is something he wants. Darkened windows can deter thieves who attempt to "smash-and-grab" valuables from your vehicle.

Improves appearance. Tinted windows add a sophisticated style to any vehicle. Whether you prefer to make a bold statement or desire a subtler look, various shades of tint are available to fulfill all of your style requirements. However, drivers must follow local window tinting regulations and guidelines in order to avoid costly fines and tint removal.

Auto window tint offers numerous benefits to the consumer, making it an extremely popular enhancement for vehicle owners around the country. It is important to remember that you must find a qualified installer who can inform you about your tint choices and install it professionally and correctly. Getting it done right the first time will eliminate tint removal and replacement in the future.


Wednesday, 25 May 2011

Wire Replacement in Your Classic Car


For the wiring of your Super Rod, you will need some assembly, but it should be no problem with the help of this detailed guide.


Step 1: To begin, you will need to prepare a basic kit with some wiring and a fuse block.

Step 2: The size of the Alternator will depend on the quantity of the equipped items on your Super Rod as well as their amount of amperage draws.


Step 3: A particular amount of current is required for each chosen component for fusing accordingly for protection. To maintain serviceability, you will need to place the items in an accessible but hidden location properly and away from sources of heat.

Step 4: Select the location of the fuse block first. In this case, the fuse panel will be located behind the side panels built, housed in the trunk for easy access but invisible. A fuse panel support bracket is fabricated on an angle to add to accessibility.


Step 5: The fuse block is attached with the aid of 10/24 stainless steel screws and the wires are ran behind the unit up over the internal wheel house. The wiring will be hidden by the trunk side panels.

Step 6:You can run the main harness through the rocker panel at the qtr panel window opening bottom, by cutting a clearance hole.

Step 7: Create a good entry location back up at the original front kick panel for the under dash wiring.

Step 8: Build a protective saddle below the bottom door hinge which also eliminates metal burrs which may rub the wiring when you going at the installation.


Step 9: Finish off with a trim panel covering the door hinge opening. For protection and to allow the wiring to pass through, on the upper section, incorporate an oval transition flange.

Step 10: For wiring protection while pulling through the panels, you can use a black corrugated conduit. Just fold back the edge and feed the corrugated conduit to the wire. You can use electrical tape to keep the end of the wires from hanging on an edge. It also doubles as an attachment location for rope or pull wire when pulling the wires through.

Step 11: Run the wires through the pre-drilled holes and use a pull string to feed the conduit through the rocker and into the vehicle interior with a pull string.


Step 12: To feed different components, install a main junction block beneath the dash. When it is done, you will see the feeds come off to their respective areas. All soldered connections should be shrink-wrapped.

Step 13: You may want to hide the starter solenoid in places such as behind the door jamb at the passenger front fender at the back.

Step 14: Run some preliminary wires up the dash and mark the sheet metal to aid in keeping track.

Step 15: Measure battery cables from large 1 gauge wire.

Step 16: Rough out the selected knob controls with extra wire so that the correct length can be achieved by trimming after the wiring.

Step 17: Hold the wiring together with clamps and wire ties to align and hide them right.


Step 18: Once the components have been wired and tested, wrap the dash knob harness using electrical tape, or just leave it in case you may want to service it or add a component in the future.

Step 19: For reference quickly and clearly, you can mark each wire to its component using a label maker.

Step 20: You may also need to change a new switch that matches the interior. Disassemble the new switch and fix it onto the original style knob. The bezel and original knob fits, and now you can install it with the new contact assembly.

Step 21: A holding bracket is made and the fuel injection unit's brain mounted in. It is accessible yet safe from heat sources.

Step 22: Some steering columns do not come with emergency flasher systems, if so, you can fabricate one with diodes. If you get stumped on some of these steps, contact your local street rod shop and ask technical questions to help yourself learn.

Finally, try out your completed project to see whether it works when you are ready. Do not wait till the car is done, as it may be too late, and the alterations make more work. If all is well, you are ready to hit the road.

Ensuring your ride is road worthy is what we do in our street rod shop at Jeff Lilly Restorations. Getting you on the road and enjoying your time asap is our goal.